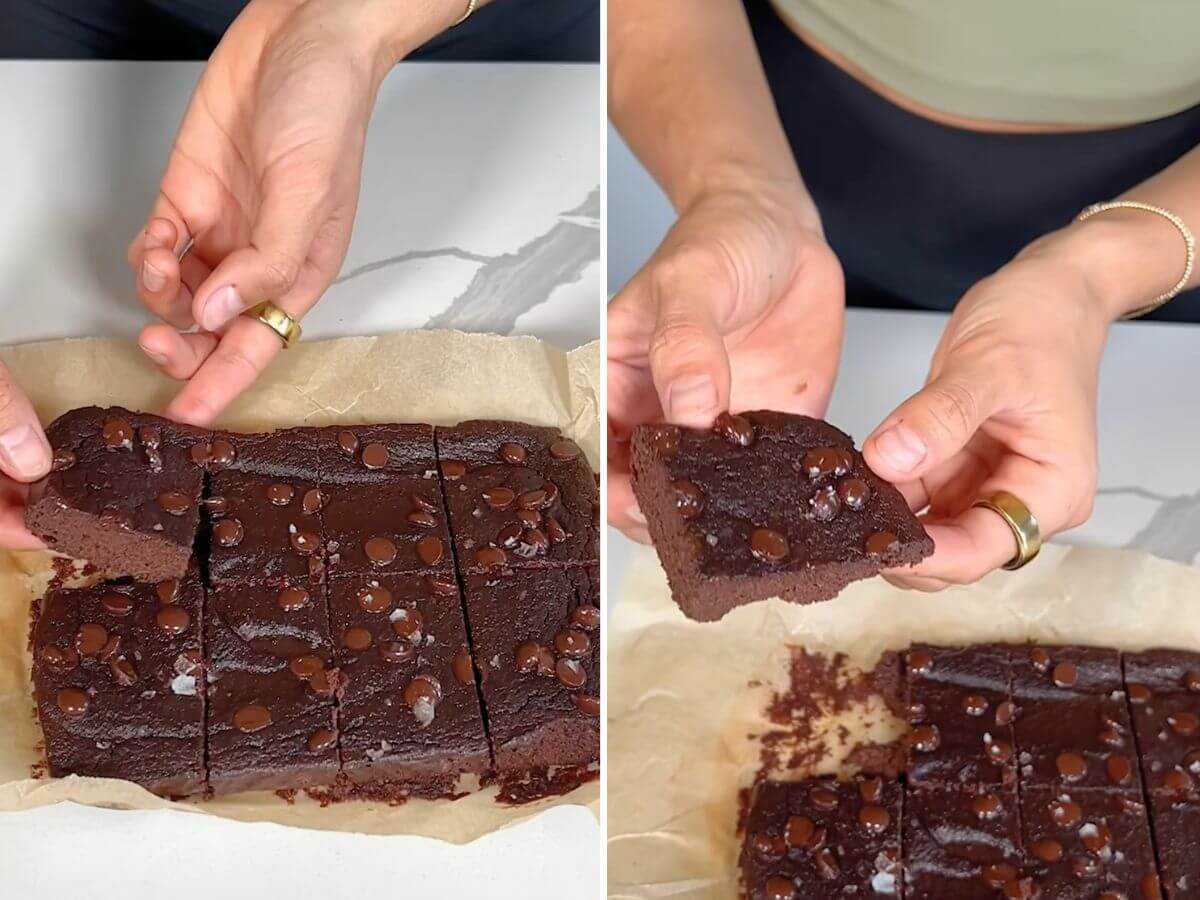
Easy Chocolate Apple Brownies for Fall With Just 3 Main Ingredients
The first time I saw two apples go into a blender with eggs and cocoa powder, I wasn’t convinced brownies were coming out the other end.
There was no flour. No butter. No big scoop of sugar. Just apples, eggs and unsweetened cocoa powder making up the main batter.
Then the blender turned everything into a smooth chocolate mixture, the batter went into the oven, and somehow there were actual brownie squares at the end.
These chocolate apple brownies are incredibly easy, but there’s one thing I wish everyone knew before making them: don’t expect the texture of a regular flour-based brownie. These are much softer, with a moist chocolate center that needs time to set.
That’s also why I wouldn’t rush the cooling. Cutting while the brownies are still warm can leave the center feeling almost batter-like, even when what they really need is time to settle.
If you have two apples sitting in the fruit bowl and want a fall dessert without pulling half the pantry off the shelf, this is a fun one to try. I’ll show you what the batter should look like, what to watch for in the oven, what to do when the center seems too soft and how to get neater squares.
Add the optional maple syrup and chocolate chips when you want a sweeter brownie, finish the pan with flaky sea salt, and those two everyday apples turn into a very different kind of chocolate dessert.
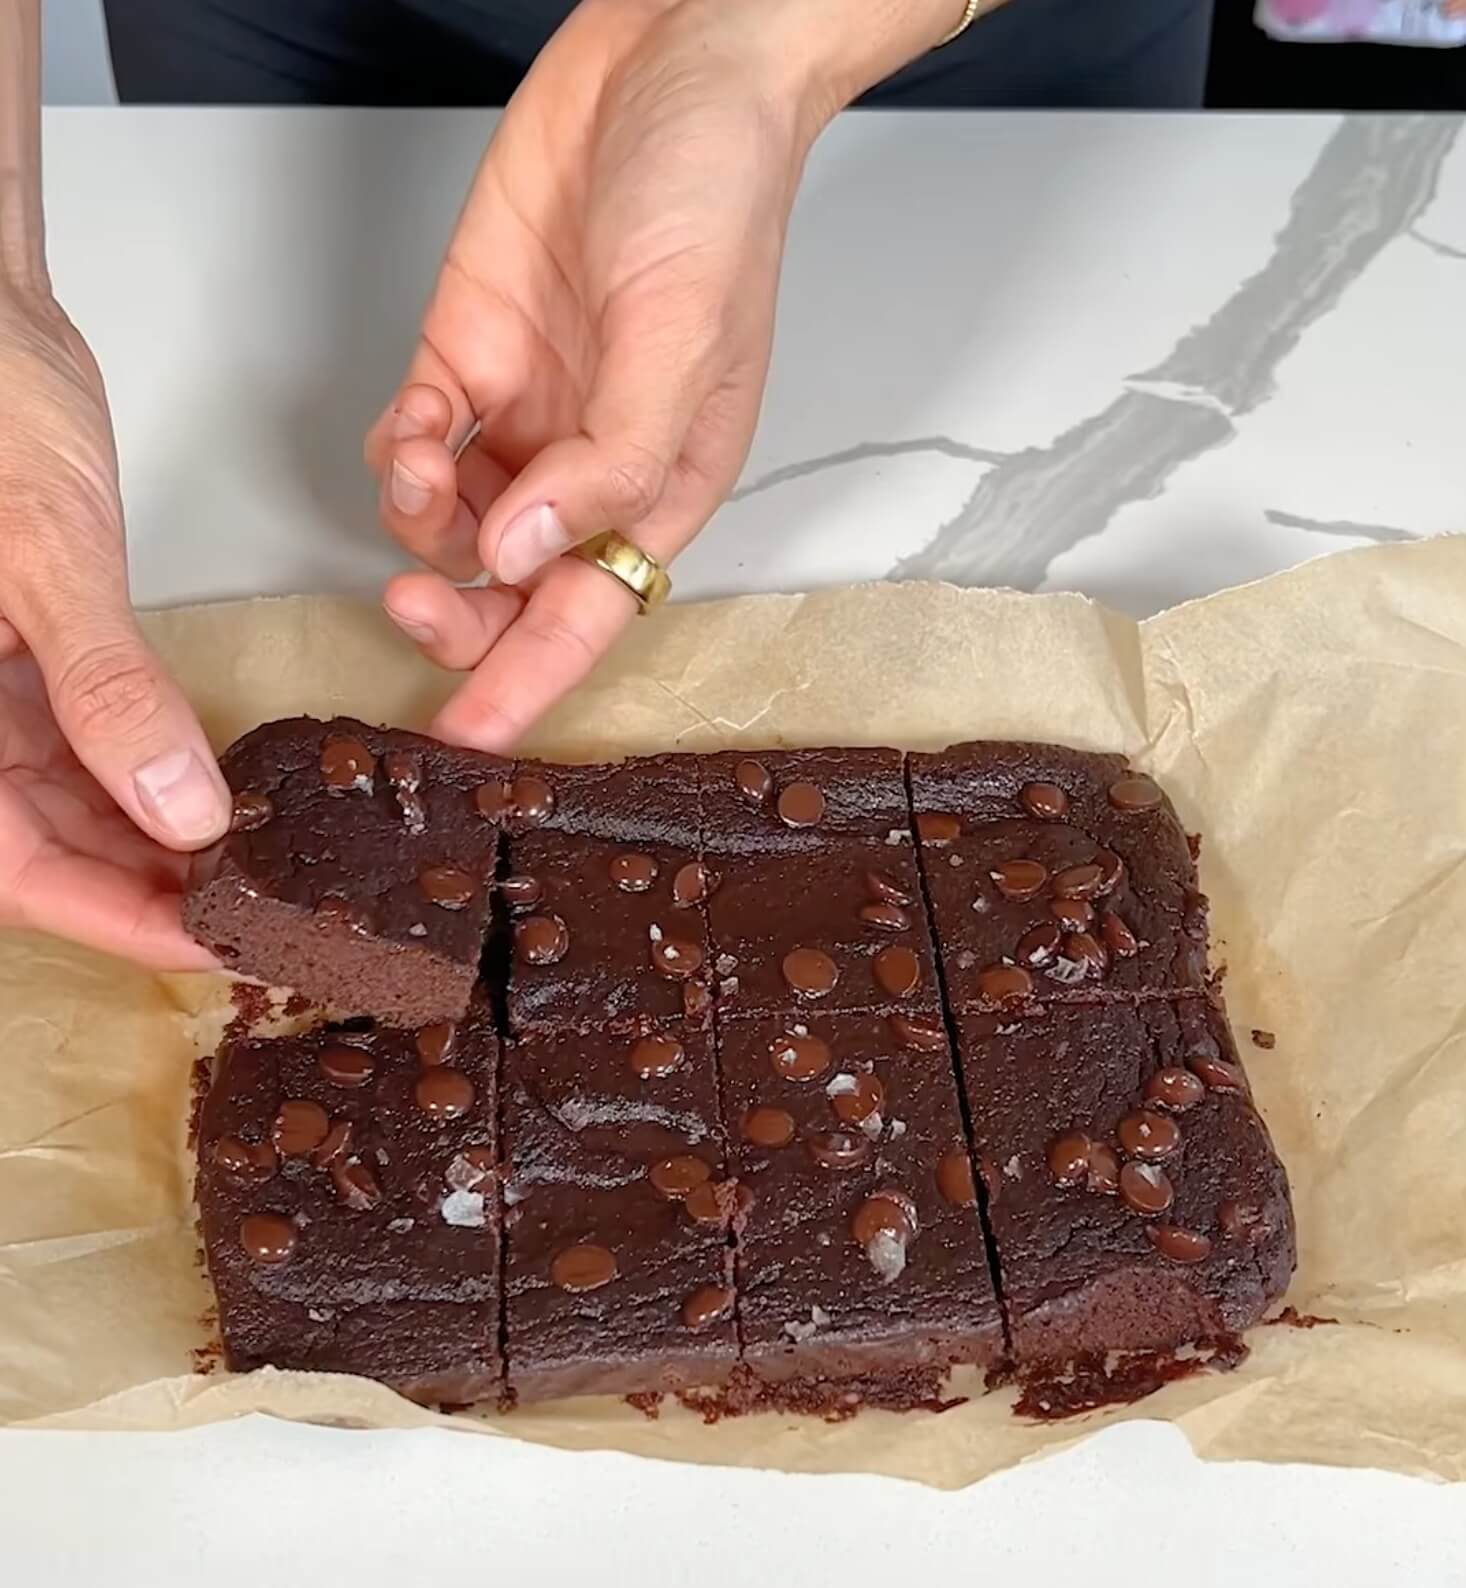
What Makes These Apple Brownies So Different
The ingredient list is what made me stop and look twice.
The three main ingredients are:
- 2 apples
- 2 eggs
- ½ cup unsweetened cocoa powder
That’s the main batter.
You can also add roughly a tablespoon of maple syrup, a pinch of salt, chocolate chips and flaky sea salt. Those extras are optional, so you can keep the brownies very simple or add them when you want a sweeter, more chocolatey finish.
The apples aren’t left as chunks. They’re blended into the chocolate mixture until you can’t see them anymore.
That gives these brownies a very different center from the chewy or cakey brownies you may normally bake. Expect them to be soft, moist and dense rather than trying to bake them until they resemble a standard flour-based brownie.
That one expectation makes the rest of the recipe much easier.
Start With the Three Main Ingredients
Two apples, two eggs and cocoa powder don’t leave much room for careless measuring.
Start by coring the apples and cutting them into pieces your blender can handle. They don’t have to look pretty or match perfectly because they’re going to disappear into the batter.
Taste a piece while you’re cutting.
If your apple is quite tart and you prefer a sweeter dessert, I’d include the optional maple syrup. If it’s naturally sweet, start with the small amount listed rather than pouring in extra.
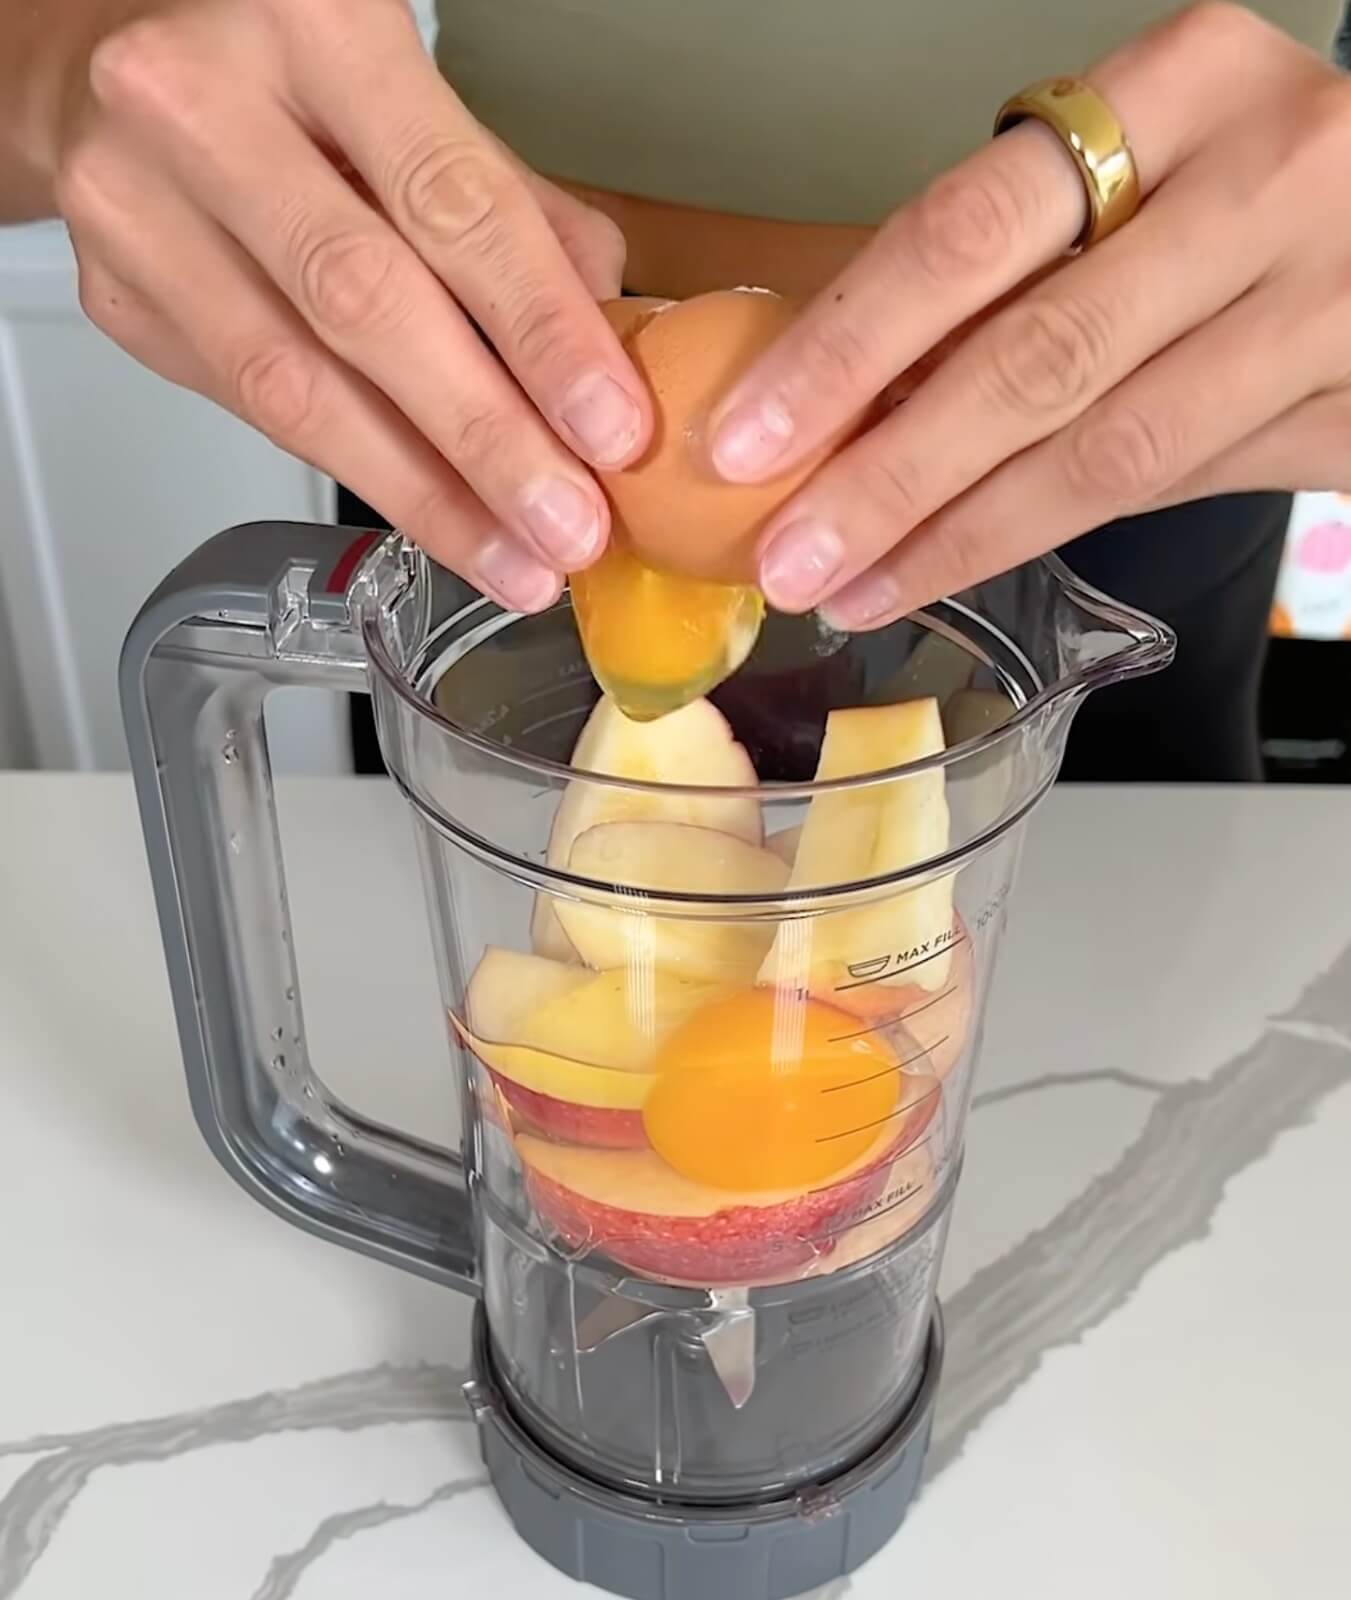
Add two eggs with the apples.
Since we’re working with only three main ingredients, I’d make the first batch with the quantities listed before experimenting with the ratios.
Then add ½ cup unsweetened cocoa powder.
Stick with unsweetened cocoa here. The maple syrup and chocolate chips give you room to adjust the sweetness without changing the cocoa measurement.
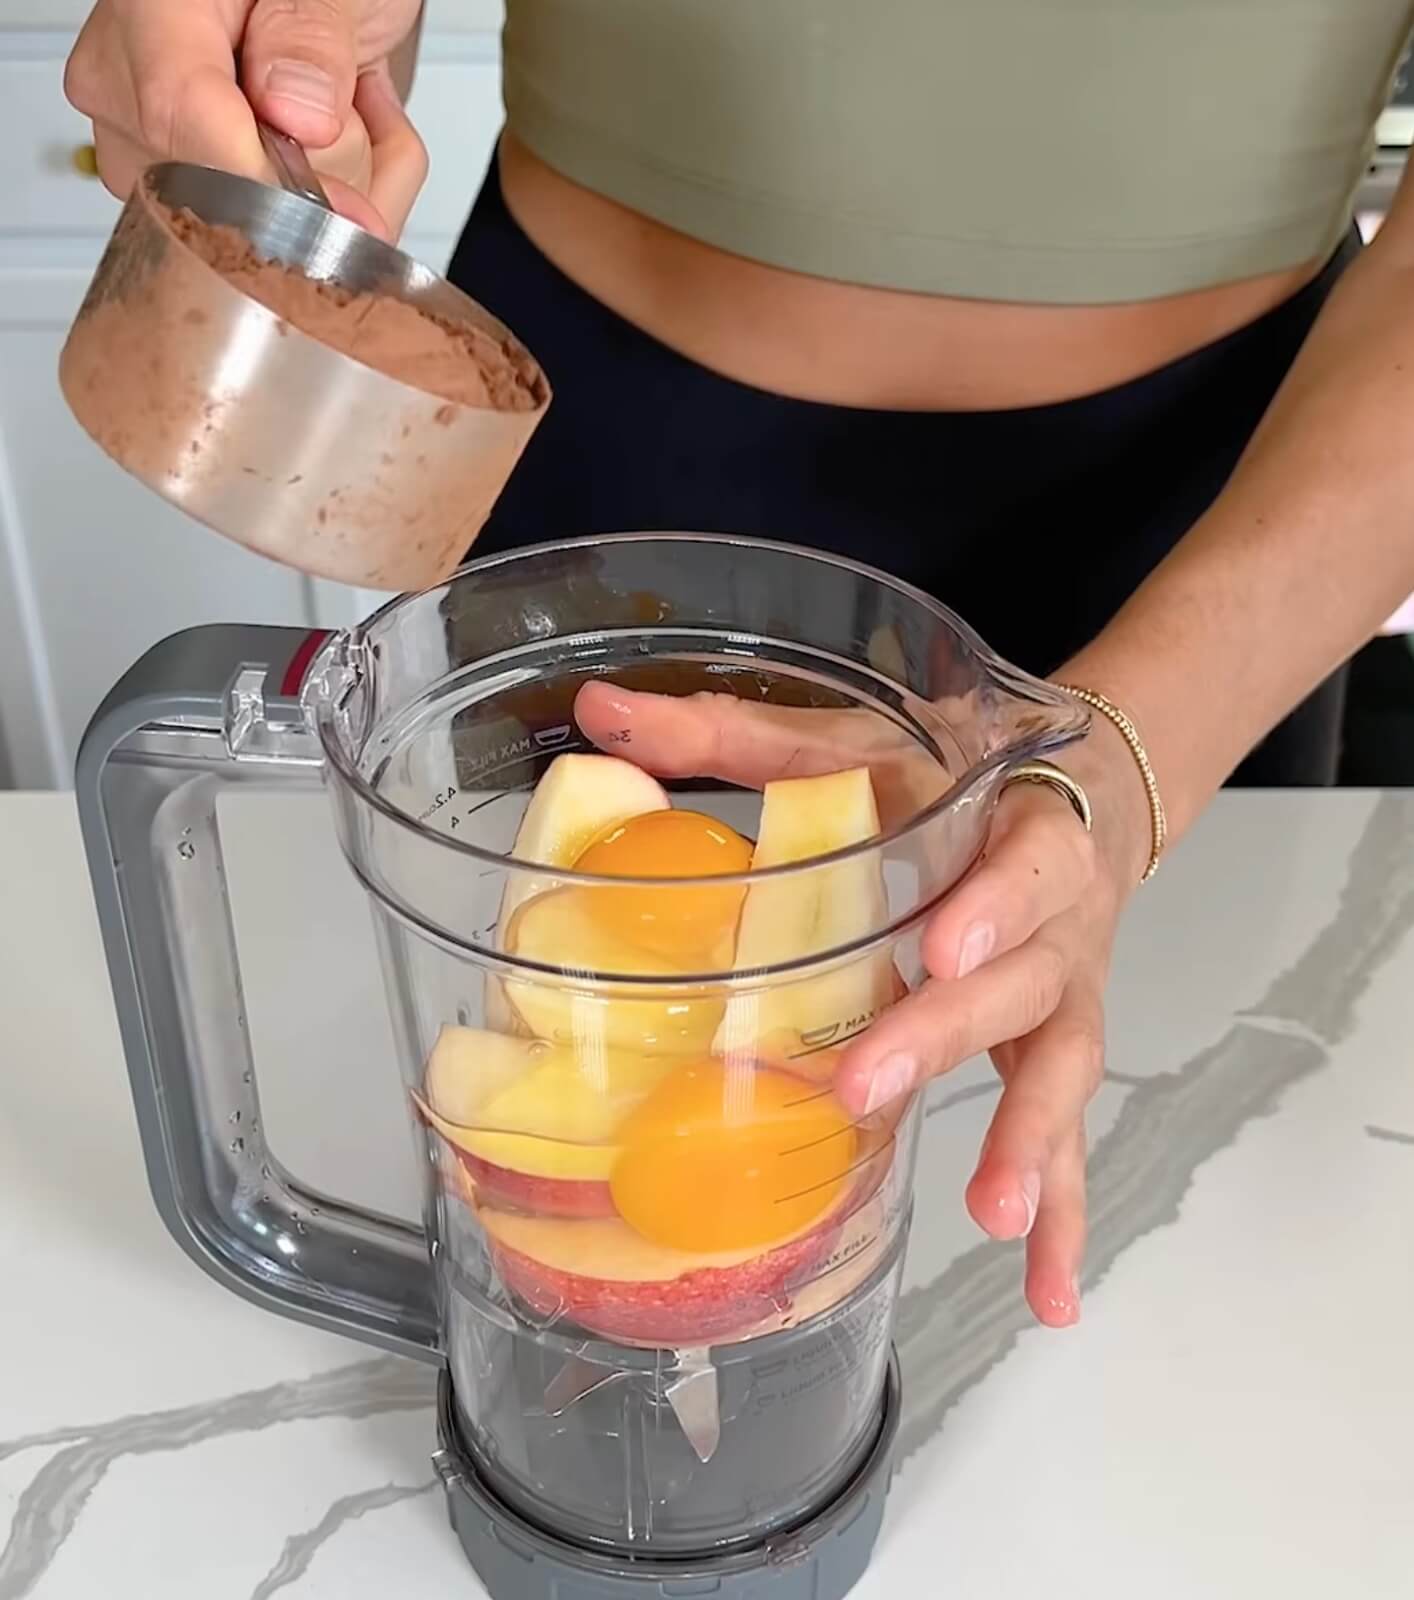
At this point, the ingredients sitting in the blender may not look particularly brownie-like.
That changes quickly.
The Optional Extras Are Worth Considering
You can make the main batter with apples, eggs and cocoa, but I like what the extras bring to the finished pan.
Start with roughly 1 tablespoon maple syrup if you want a little more sweetness.
Then there are the chocolate chips.
Scatter a handful over the batter before baking. They give the top little pockets of melted chocolate and make every square feel more dessert-like without changing the three-ingredient batter underneath.
The final extra is flaky sea salt, which goes on after baking.
The Kitchn explains why the pairing works, writing, “Salt pairs so well with chocolate because it helps enhance and balance chocolate’s complex flavors.”
You only need a light scattering. A few flakes across the surface are plenty.
Blend Until You Can’t See the Apples
Put the sliced apples and eggs into the blender, then add the cocoa powder.
Add the maple syrup and a pinch of salt if you’re using them.
Now blend until smooth.
Don’t stop just because everything has turned chocolate brown. Look closely at the mixture.
You shouldn’t see obvious pieces of apple.
If chunks are sitting against the side of the blender, stop the machine, scrape them back toward the blades and blend again.
The finished batter should look smooth and evenly chocolate-colored.
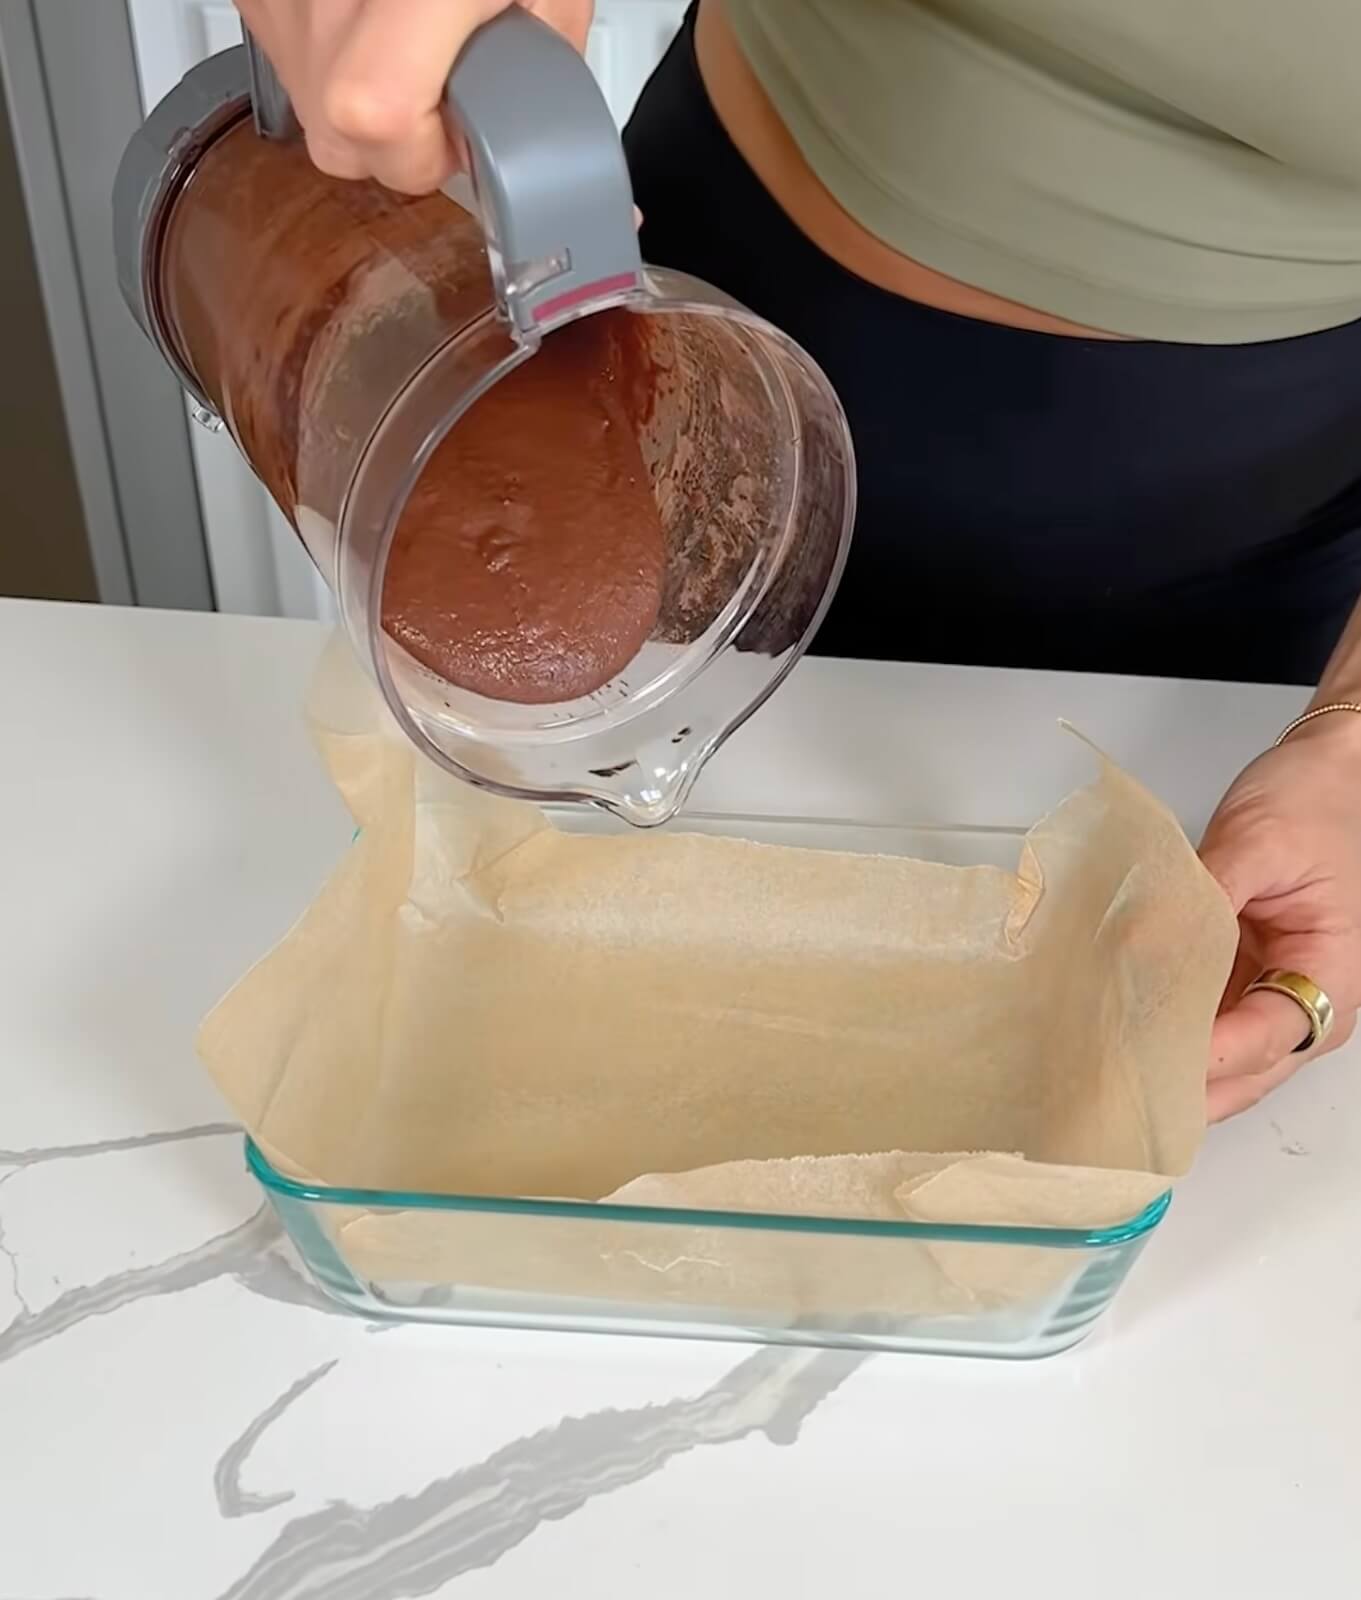
Think of this as your first visual checkpoint.
Visible apple pieces mean the blender needs a little more time. Once they’ve disappeared, you’re ready for the pan.
Check the Batter Before It Goes Into the Pan
Don’t compare this batter with a thick boxed brownie mix.
It should be smooth and pourable rather than so thick that you have to scoop it from the blender.
If yours looks like that, don’t start adding flour just because it seems looser than the brownie batter you’re used to making. Flour isn’t part of this recipe.
Line your baking dish with parchment paper before pouring. I like leaving enough parchment at the sides to grab later. It makes getting a delicate brownie slab out of the dish much easier.
Pour in the batter and gently spread it into an even layer.
Scatter a handful of chocolate chips over the top if you’re using them.
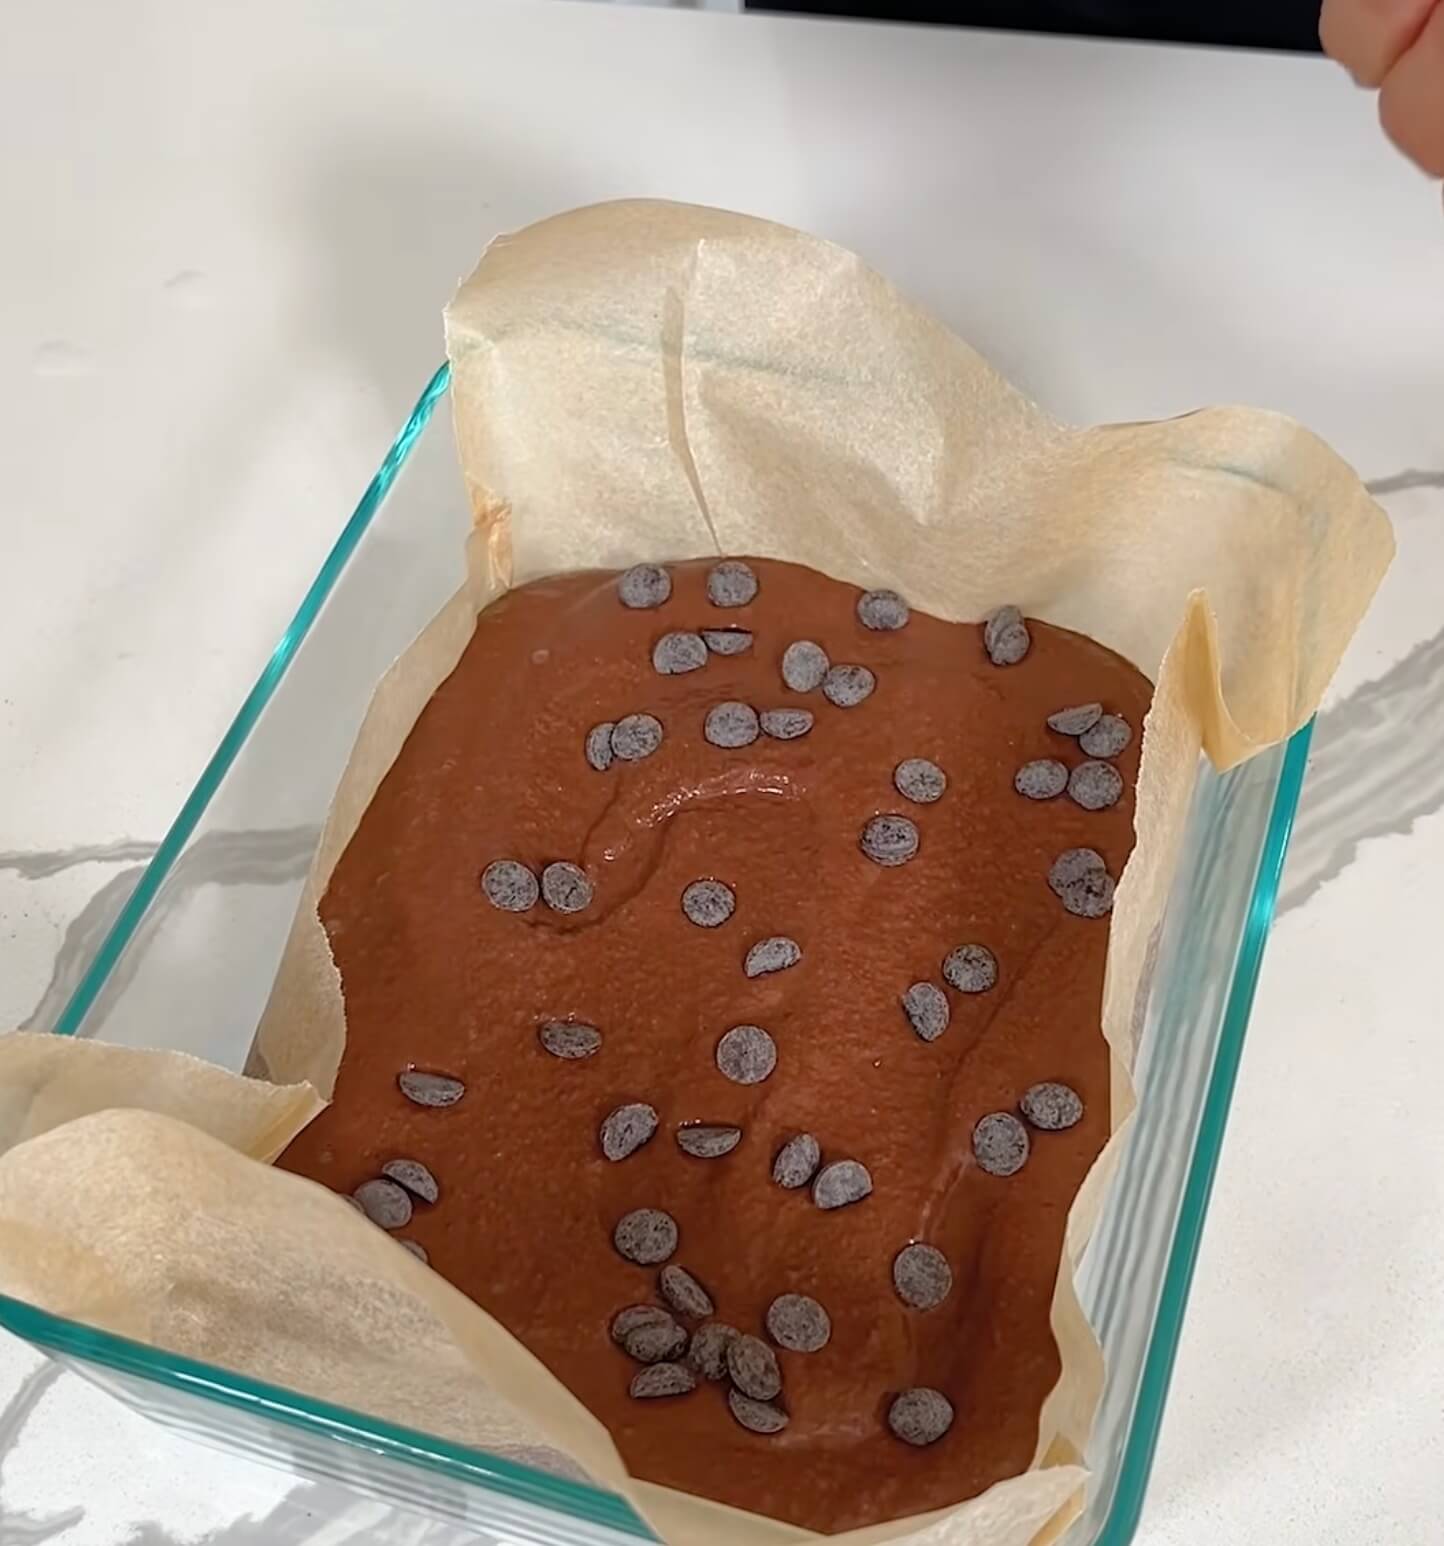
Now the brownies are ready for the oven.
Bake at 350°F and Watch the Center
Bake the brownies at 350°F for 30 minutes.
Around the end of that baking time, look at the brownie rather than relying only on the clock.
The surface should look baked and set instead of resembling the liquid batter that went into the oven.
A toothpick can give you another clue.
Bon Appétit gives this direction for cocoa brownies: “Bake until top begins to crack and a toothpick inserted into the center comes out with a few moist crumbs attached, 25-30 minutes.”
For these apple brownies, I’m interested in the few moist crumbs part of that advice rather than borrowing the baking time from a different brownie recipe.
A few moist crumbs aren’t the same as loose chocolate batter coating the toothpick.
Once the brownies come out of the oven, scatter a little flaky sea salt over the surface if you’re using it.
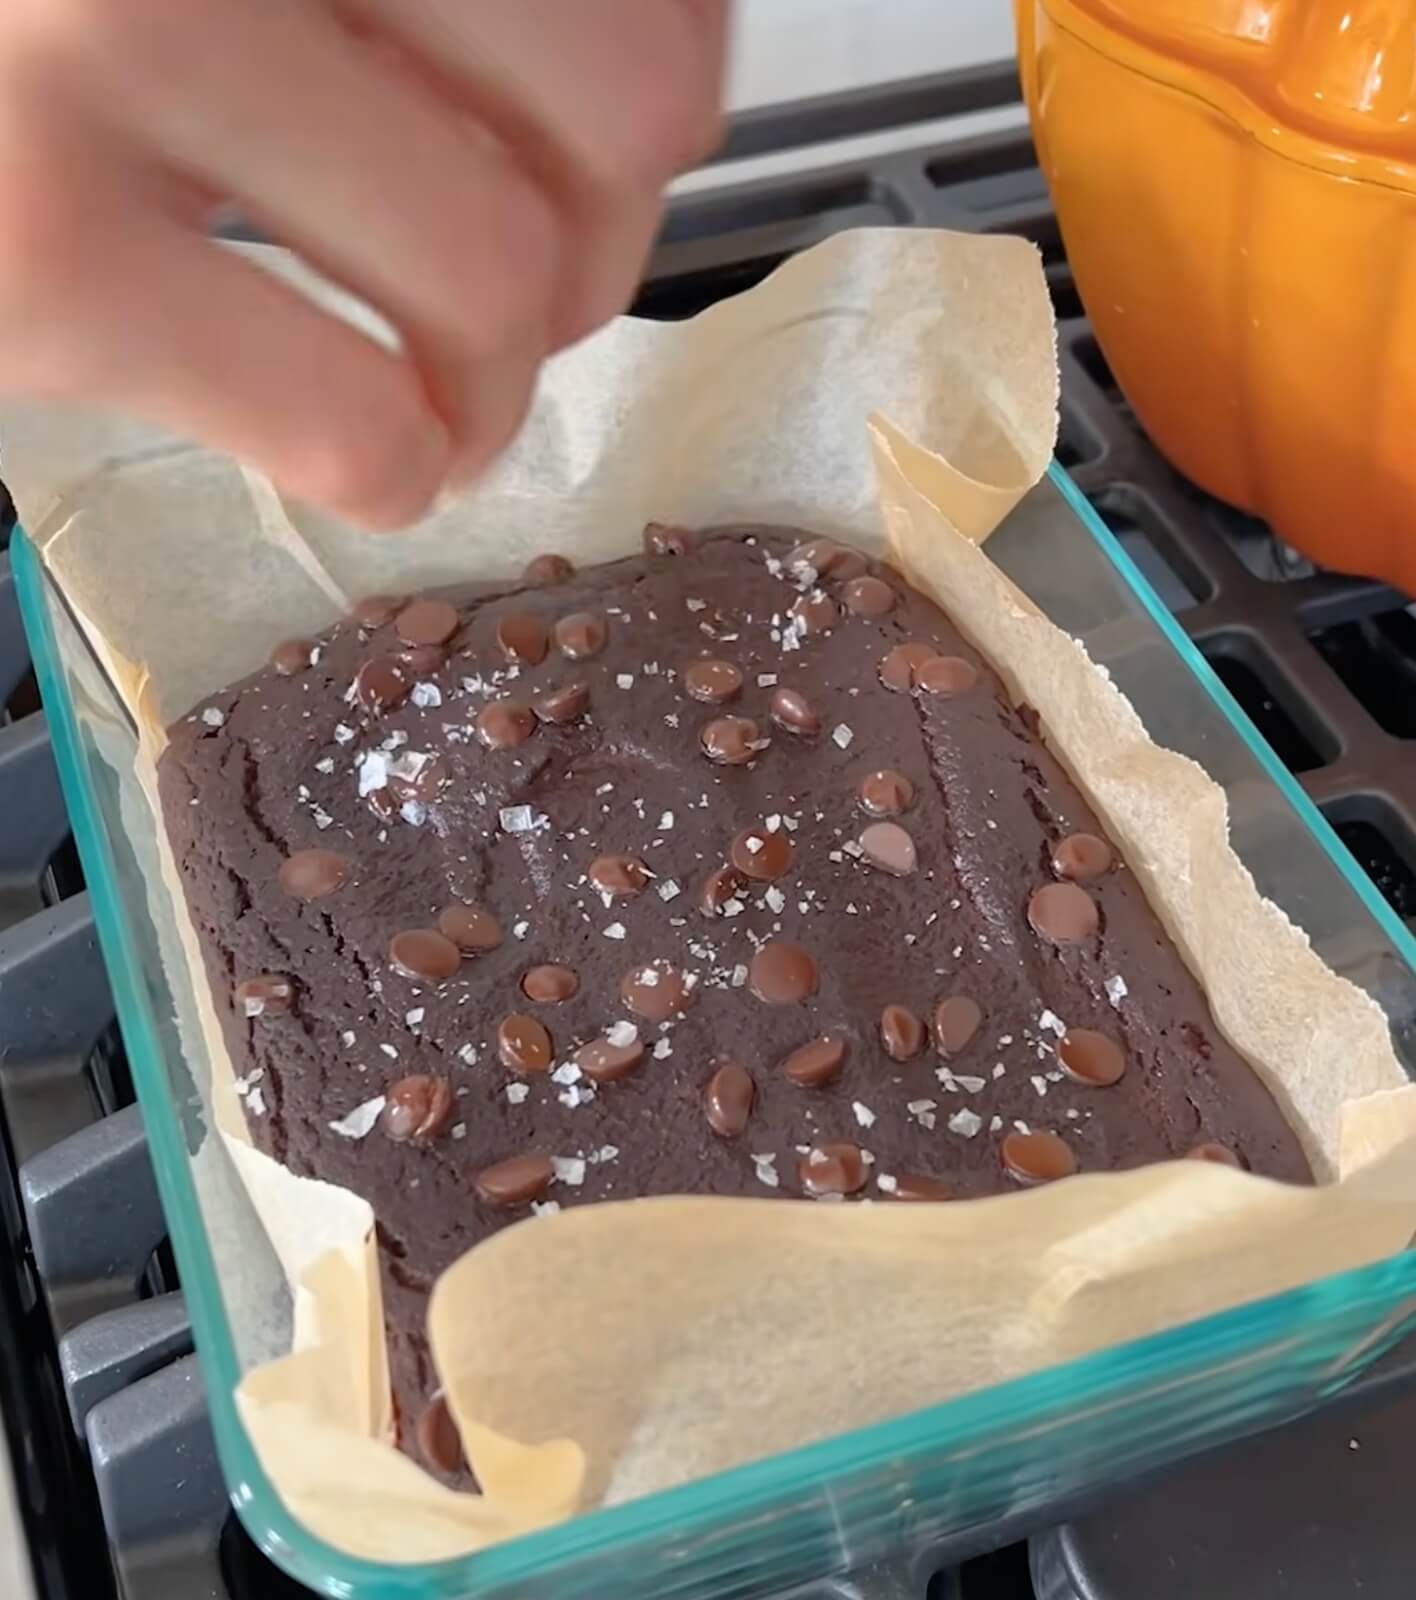
Then resist the knife.
Don’t Cut These Brownies While They’re Warm
This is the step I’d be most careful not to rush.
These brownies have an unusually soft center. Cutting them straight from the oven doesn’t give that center much time to settle, and a warm square can seem far softer than one that has been allowed to cool.
Let the entire pan cool before you decide whether you’re happy with the texture.
If the brownies have cooled but still feel too delicate to cut neatly, chilling them can help.
King Arthur Baking advises, “For easiest slicing, chill the brownies in the refrigerator for 1 to 2 hours after they’ve cooled to room temperature.”
That’s a handy trick for this recipe because the brownies are already softer than the flour-based kind.
Cool first. Chill if you want a firmer slab. Then cut.
What to Do When the Center Seems Too Soft
Before putting the brownies back in the oven, check whether they’re still warm.
If they are, wait.
Give the pan time to cool before deciding something went wrong. These aren’t supposed to have the same firm interior as a conventional brownie.
If they’re completely cool but still too soft to cut neatly, chill the slab before reaching for the knife.
If the center looks like genuinely wet batter rather than a soft, moist brownie, give the pan a little more oven time and check again. I wouldn’t add a long stretch of baking time all at once because it’s easy to go too far in the other direction.
And if you’ve already cut one square and the rest of the slab feels too delicate, stop cutting.
Leave the remaining brownies together, let them cool longer and chill them if needed.
It’s much easier to rescue one soft slab than nine collapsing squares.
These Won’t Eat Like Regular Brownies
This is the expectation I’d get straight before making them.
I wouldn’t make these because I wanted to reproduce my favorite bakery brownie with fewer ingredients.
I’d make them because turning apples, eggs and cocoa into a pan of chocolate brownies is such an unusual idea.
The finished center is very soft, moist and dense. You aren’t going to get the same crumb as a standard flour-based brownie.
If your favorite part of a brownie is a chewy edge and familiar cakey or fudgy crumb, this recipe may feel very different.
If you’re intrigued by a soft chocolate dessert made with blended apples, that’s where these get interesting.
Treat them as chocolate apple brownies, rather than asking them to imitate a completely different recipe, and the texture makes much more sense.
How to Cut Cleaner Brownie Squares
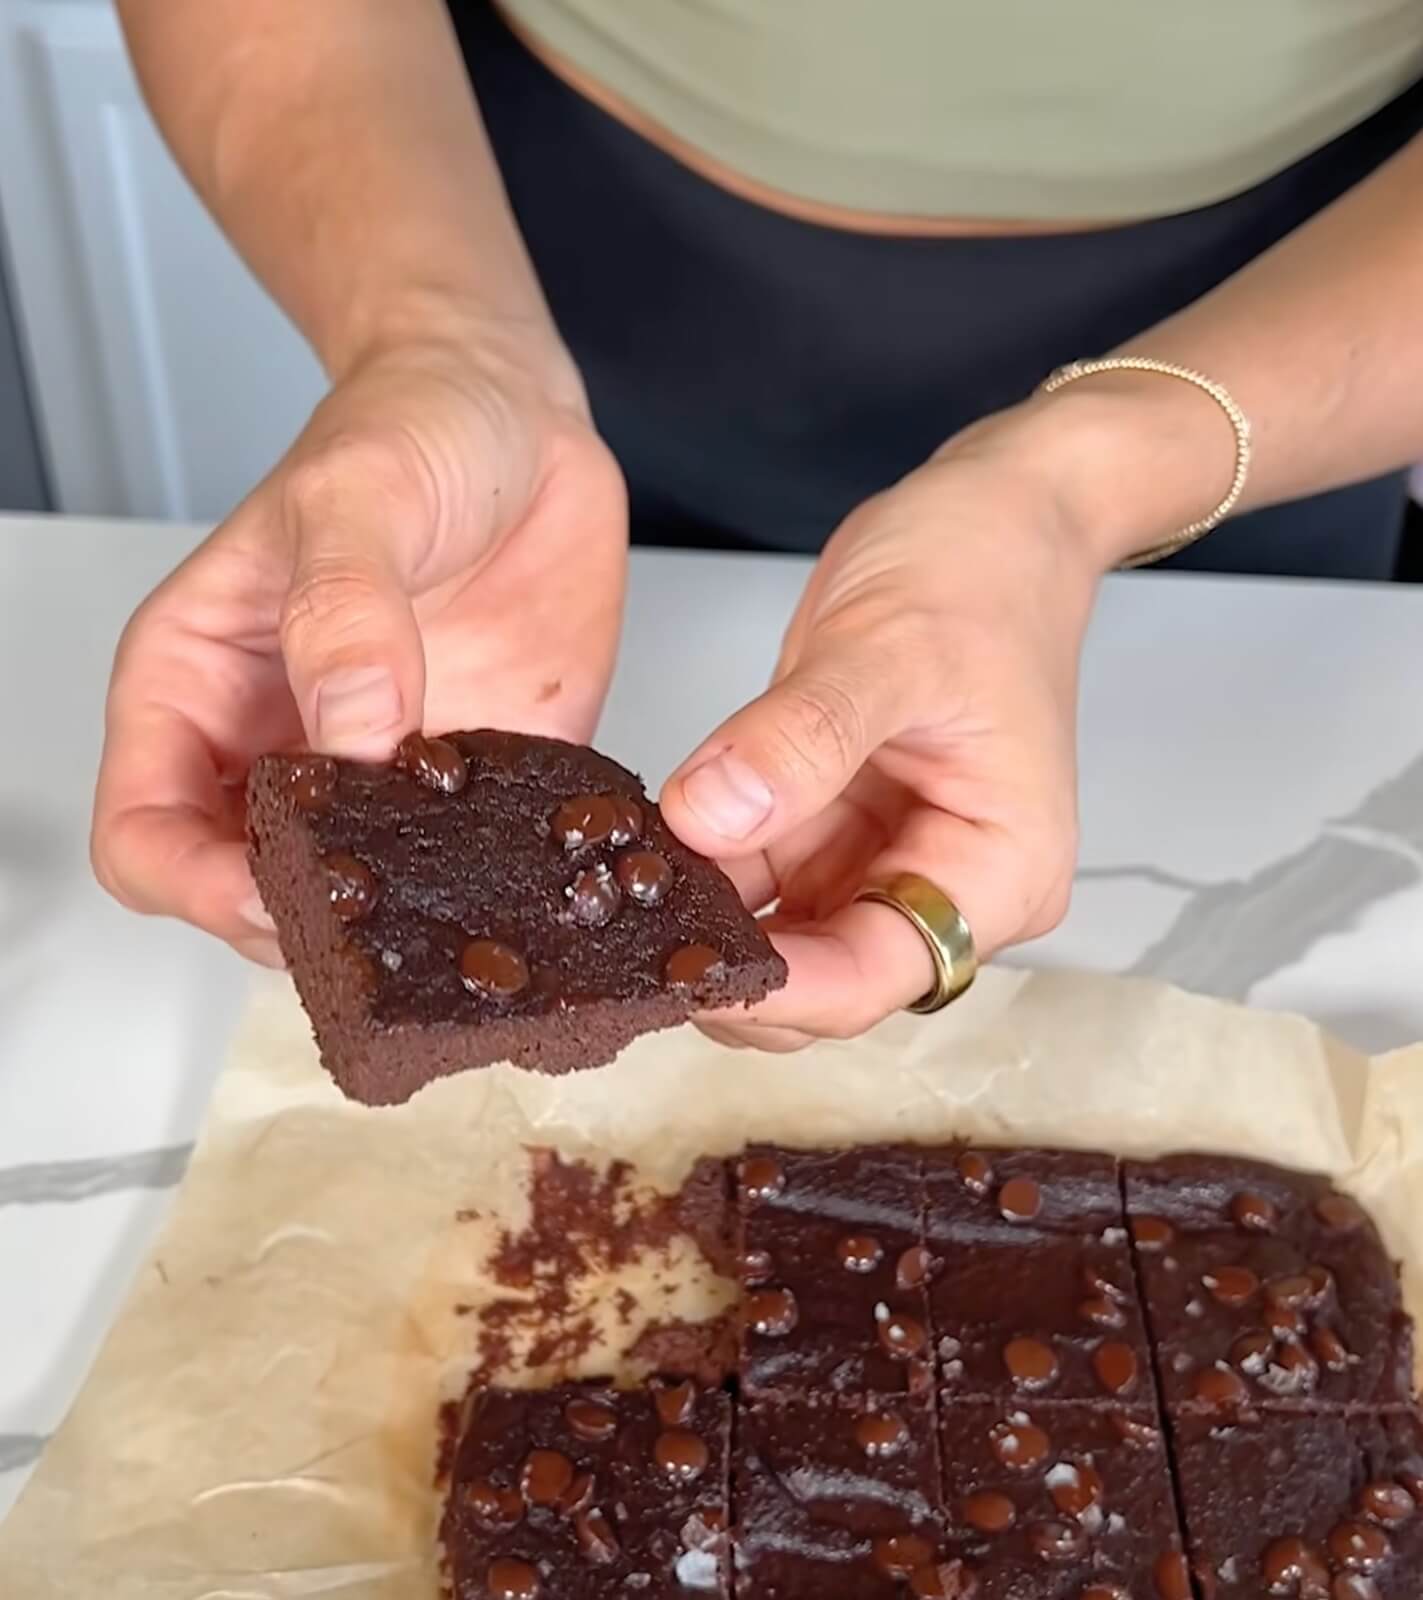
Once the brownies are completely cool, use the parchment to lift the whole slab from the dish.
If it bends or feels too delicate, put it back down and chill it first.
When you’re ready to slice, use a sharp knife and make one clean cut.
Wipe the sticky chocolate from the blade before making the next cut. A clean blade is much less likely to drag the soft center across the top of the next square.
I’d also keep the portions fairly generous rather than cutting the slab into lots of tiny bites. Larger squares are easier to pick up without squeezing the soft center through the sides.
And don’t worry if every piece isn’t perfectly identical.
A slightly wonky corner brownie still tastes like a brownie.
How I’d Serve Chocolate Apple Brownies
I’d try these at two temperatures.
Taste one lightly chilled first. You’ll get the firmer side of the brownie and it should be easier to pick up.
Then let another square sit out for a bit and see which texture you prefer.
As dessert, I’d serve a square with vanilla ice cream. The cold ice cream works nicely with the soft chocolate center and little hits of flaky salt.
For an afternoon treat, I’d keep things simple with a brownie and coffee.
If I’m serving these to friends or family, I’d also tell them they’re chocolate apple brownies before they take a bite.
It prepares them for something different from the usual flour-based square and makes the apple part of the fun.
What I’d Do With Leftovers
I’d put leftover squares in a covered container so the soft tops don’t get crushed.
If you’re stacking them, place parchment between the layers. That keeps the chocolate-chip tops from sticking to the brownies sitting above them.
I also like the texture after chilling when I want a brownie that’s easier to pick up and slice.
Take out the portion you want and leave the rest tucked away rather than letting the whole batch sit out every time you reach for another piece.
And with chocolate brownies in the refrigerator, that second trip may happen sooner than planned.
Quick Fixes When Something Looks Wrong
My brownies are mushy.
Check their temperature first. Let warm brownies cool completely before changing anything. If they’re still softer than you prefer once cool, chill them before slicing.
I can still see apple pieces in the batter.
Blend longer. Stop and scrape down the sides if pieces are sitting away from the blades, then blend again until the mixture looks smooth.
My brownies won’t cut neatly.
Don’t fight a soft slab. Let it cool, chill it if needed and use a clean, sharp knife.
[BROWNIE INTERIOR IMAGE]
They’re not sweet enough.
Remember that the three main ingredients don’t include granulated sugar. If you normally like sweeter brownies, include the optional maple syrup and chocolate chips.
The cocoa tastes too strong.
You’re using ½ cup unsweetened cocoa powder with a very short ingredient list. If you’re worried about a stronger cocoa taste, I’d include both the maple syrup and chocolate chips on your first batch.
They’re much softer than my normal brownies.
That’s expected here. Don’t keep baking indefinitely while trying to force these into the texture of a flour-based brownie. Let them cool fully before deciding whether they need anything else.
A Few Questions Before You Start
Can I use different apples?
Yes. I wouldn’t buy a particular variety solely for these brownies. Start with the apples you have and taste a piece before blending. If yours is quite tart and you want a sweeter dessert, include the maple syrup and chocolate chips.
Can I leave out the maple syrup?
Yes. The maple syrup is optional. Leave it out and the main batter really does come down to apples, eggs and cocoa powder.
If you usually prefer sweeter brownies, I’d include the small amount listed on your first try.
Can I skip the chocolate chips?
Yes. The chocolate chips aren’t needed for the main batter.
I like the little pockets of chocolate they add to the top, but you can leave them off when you want the simplest version.
Do I need to peel the apples?
No extra peeling step is needed here. Core the apples, cut them into blender-friendly pieces and blend thoroughly so you don’t have obvious apple chunks left in the chocolate batter.
Are these really brownies without flour?
Yes, but don’t expect them to behave exactly like flour-based brownies. They bake into chocolate squares with a much softer, more delicate center.
Easy Chocolate Apple Brownies Recipe
Main ingredients
- 2 apples, cored and sliced
- 2 eggs
- ½ cup unsweetened cocoa powder
Optional additions
- About 1 tablespoon maple syrup
- Pinch of salt
- Handful of chocolate chips
- Flaky sea salt, for finishing
How to Make Chocolate Apple Brownies
- Preheat the oven to 350°F and line a baking dish with parchment paper, leaving enough parchment at the sides to help lift the brownies later.
- Core the apples and cut them into blender-friendly pieces.
- Put the apples and two eggs into the blender.
- Add ½ cup unsweetened cocoa powder.
- Add about 1 tablespoon maple syrup and a pinch of salt, if using.
- Blend until the batter looks smooth and no obvious apple pieces remain. Stop and scrape down the sides if needed.
- Pour the chocolate batter into the lined baking dish.
- Gently spread it into an even layer.
- Scatter a handful of chocolate chips over the surface, if using.
- Bake at 350°F for 30 minutes. Check that the surface looks set rather than liquid before removing the pan.
- Scatter a small amount of flaky sea salt over the warm brownies, if using.
- Let the brownies cool completely before slicing.
- If the cooled slab is still too delicate for neat squares, chill it before cutting.
- Lift the slab from the dish with the parchment and slice it into squares with a sharp knife.
Before You Slice
I know it’s tempting when the chocolate chips are still glossy and the kitchen smells like cocoa.
Wait.
This is one recipe where cooling can make a big difference to how the center feels and how neatly the brownies cut.
Let the pan cool completely. If the slab still feels too soft for the knife, chill it first.
Bake. Salt. Cool. Cut.
One Last Brownie
What I like most about these chocolate apple brownies isn’t the idea that three ingredients can replace every traditional brownie recipe.
They don’t need to.
It’s the surprise of seeing two apples, two eggs and cocoa powder turn into a pan of soft chocolate squares.
Add maple syrup and chocolate chips if you want a sweeter version. Finish the warm pan with a few flakes of sea salt. Then give those brownies enough cooling time before reaching for the knife.
Once you know to expect a soft chocolate center rather than a traditional brownie crumb, this unusual little apple dessert becomes much easier to love.
Also read: