Easy Bone Broth Recipe that’s Delicious and Nourishing
I started making bone broth during one hectic winter when I was juggling work, cooking, and trying to eat better without spending hours in the kitchen.
One cold evening, I tossed leftover chicken bones into a pot with water and a few vegetables. As it simmered, the aroma drifted through my home and softened the kind of stress that sits in your shoulders by the end of the day. It felt grounding in a way the boxed versions never did.
That first batch showed me how one simple pot could do so much. It warmed my evenings, helped me cut down on takeout, and gave me an easy base for quick soups, grain bowls, and lazy-day meals. It also became one of those small routines that made my kitchen feel calmer and more intentional.
If you’ve been wanting something soothing, budget-friendly, and easy to make even on busy weeks, this recipe fits right in. I’ll walk you through how I make my batches, how to store them safely, and how to use bone broth in meals that take only minutes.
Let’s break it down.
What Bone Broth Actually Is
Bone broth starts with something simple: bones, water, and a few aromatics simmered long enough for the collagen and minerals to loosen and melt into the pot.
Stock and broth might look similar at first, but the long simmer gives bone broth a fuller body and a soft, almost silky texture that feels comforting when you sip it.
A report from Harvard Health Publishing explains that bone broth can carry protein and minerals from the bones, though many of the wellness claims online don’t have strong research behind them.
That reminder helps you enjoy bone broth for what it is — warm, steady nourishment — not a cure-all.
Another nutrition source adds that the exact protein or collagen level changes each time you make a batch, depending on the bones and how long you simmer. This helps set real expectations so you’re not chasing perfection with every pot.
Now that you know what it is, let’s talk about why it earns a permanent spot in my kitchen and why it may help simplify your cooking too.
Why I Keep It in My Kitchen
Bone broth became one of those quiet helpers in my weekly routine. It stretches leftovers, adds depth to quick meals, and gives you something warm to reach for when you want a break from coffee or sweet snacks.
I keep a jar in the fridge most weeks because it makes everything else I cook taste better with barely any effort.
You can try these small steps right away:
- Save bones after roasting chicken or beef. Pop them into a freezer bag until you have enough for a pot.
- Keep a cooled jar of broth in the fridge. On long days, a warm cup feels grounding and keeps you full without reaching for packaged snacks.
A report from Food & Wine mentions that many home cooks enjoy bone broth as a simple way to add more protein to their meals while keeping sodium lower than some packaged soups.
That lines up with how I use it, especially on busy weeks when I want something filling but still light.
Next let’s get your tools and ingredients ready so you can make a batch without overthinking anything.
What You Need Before You Start

You don’t need chef training or a giant kitchen to make bone broth. If you can fill a pot and turn on the stove, you’re set.
I like to think of this as a “gather and go” setup, where you pull a few things together once, then let the heat do most of the work.
- Choose your bones
I usually work with chicken, turkey, or beef bones. Chicken carcasses from a roast chicken, leftover turkey bones after a holiday meal, or beef knuckles and marrow bones from the butcher all work well.
Leftover roasted bones bring deeper flavor because they already have browned bits clinging to them. I keep a freezer bag just for bones and keep adding to it until I’m ready for a batch.
- Gather your aromatics
My base mix is onion, garlic, celery, carrots, and a bay leaf. Onion and garlic add that savoury backbone, celery brings a gentle freshness, and carrots add a soft sweetness that smooths out any harsh edges.
The bay leaf quietly lifts everything without taking over. You don’t have to peel everything perfectly; a quick rinse and rough chop is enough, which makes this friendly for busy nights.
- Add the water
I pour in enough water to cover the bones by about an inch. Too much water and the broth tastes flat, too little and you risk scorching.
A cooking guide from Serious Eats explains that the ratio of bones to water shapes both flavor and body, so staying close to that “just covered” sweet spot gives you a rich, satisfying broth.
- Pick your pot or cooker
Use whatever you already own: a heavy pot, a slow cooker, or a pressure cooker. A heavy pot is great if you like checking in now and then, a slow cooker works well if you want to set it before bed, and a pressure cooker is handy when you want a long-simmer taste without waiting all day. I’ve made good broth in all three.
Now that everything is gathered, let’s move into the step-by-step cooking so you can turn this pile of bones and veggies into something you’ll actually crave.
Step-by-Step Instructions to Make Bone Broth
Here’s exactly how I do it in my own kitchen. Think of this as a gentle routine rather than a strict rulebook. You can follow it as is or tweak it once you’ve tried it once or twice.
Step 1: Roast or brown your bones
I spread the bones on a sheet pan and roast them at 425°F (220°C) for about 30 minutes, until the edges are deep golden and the kitchen smells savoury and toasty.
This step builds a deeper, almost caramelised flavour into the broth. If you’re short on time and your bones are already well roasted, you can skip this, but I notice the difference when I do it.
Step 2: Load the pot
I add the bones to my pot, pile the aromatics around them, and pour in water until everything is just covered. This is where it already starts to look like a meal in the making. I like to keep the setup simple so cleanup doesn’t feel like a chore later.
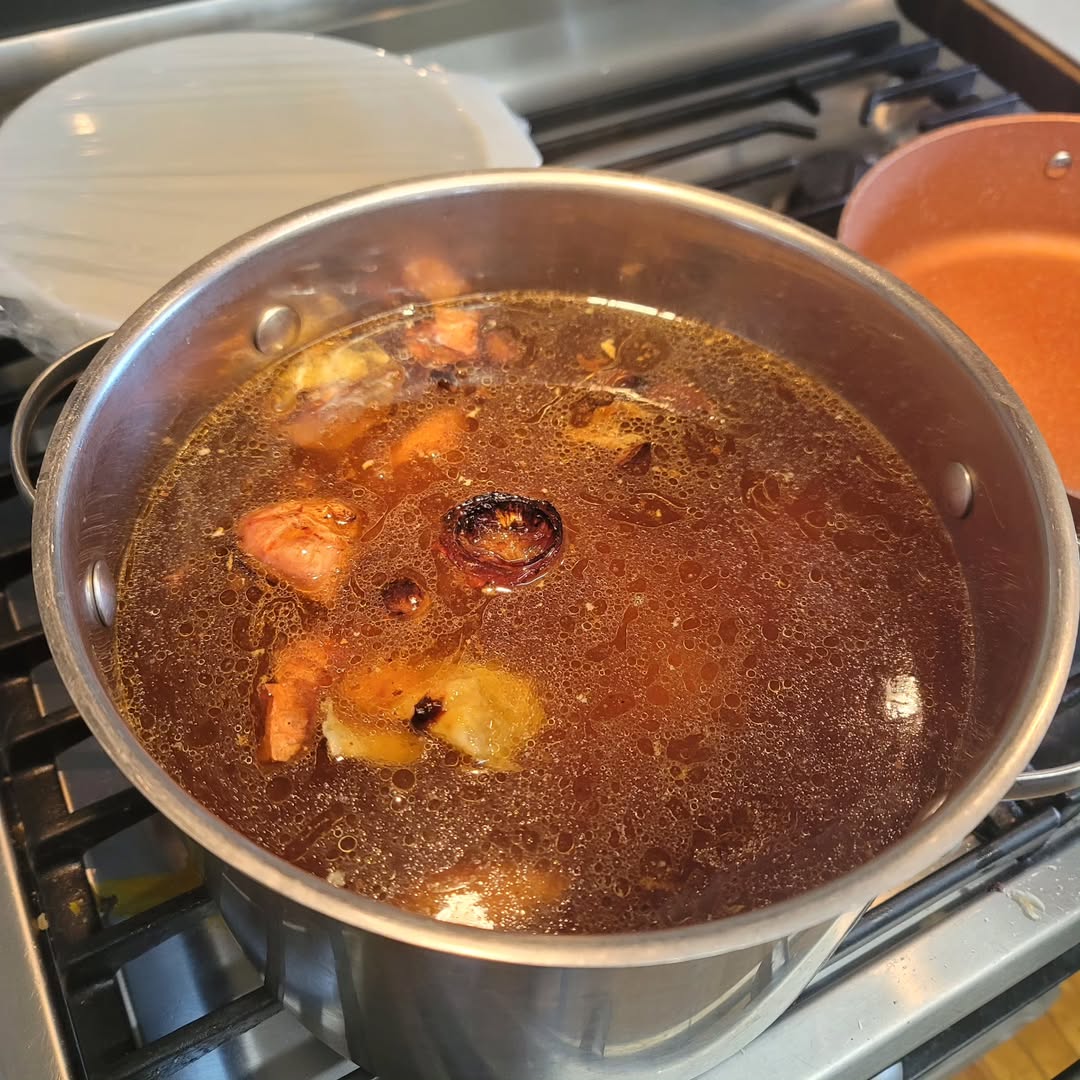
Step 3: Bring it to a light simmer and skim
I bring the pot up to a simmer over medium heat, then lower the heat until I see tiny bubbles breaking the surface, not a rolling boil.
During the first 20–30 minutes, some foam and greyish bits rise to the top. I skim that off with a spoon and toss it. This keeps the broth smoother and clearer, which matches what that Serious Eats guide suggests.
Step 4: Let it cook low and slow
Once the simmer is calm and steady, I leave it alone, checking in now and then to be sure the heat stays low. My timing looks like this:
- Chicken bones: 6–8 hours
- Beef or turkey bones: 12–24 hours
Over time, the liquid deepens in colour and the whole kitchen smells cosy. You’ll know it’s on the right track when the bones look pale and the broth tastes rich even before you add salt.
Step 5: Strain the broth
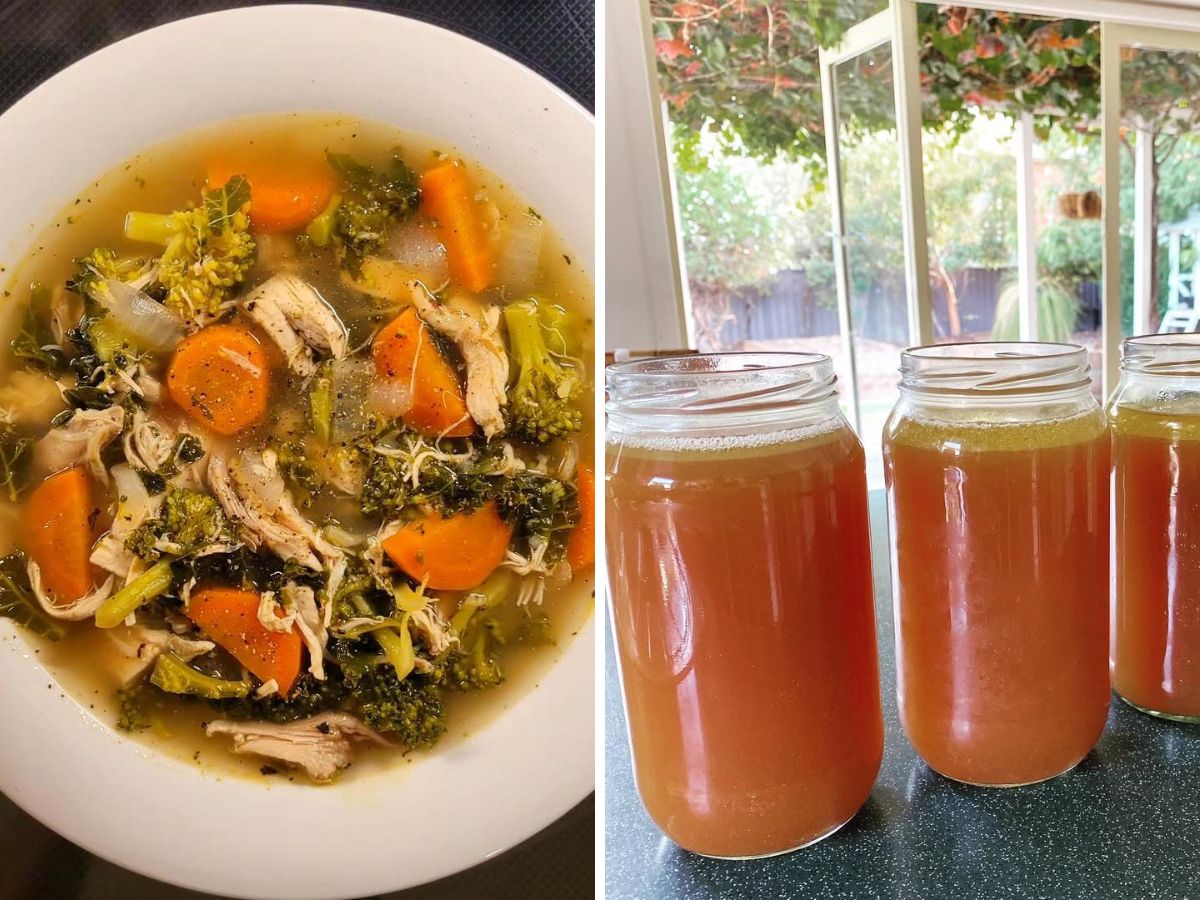
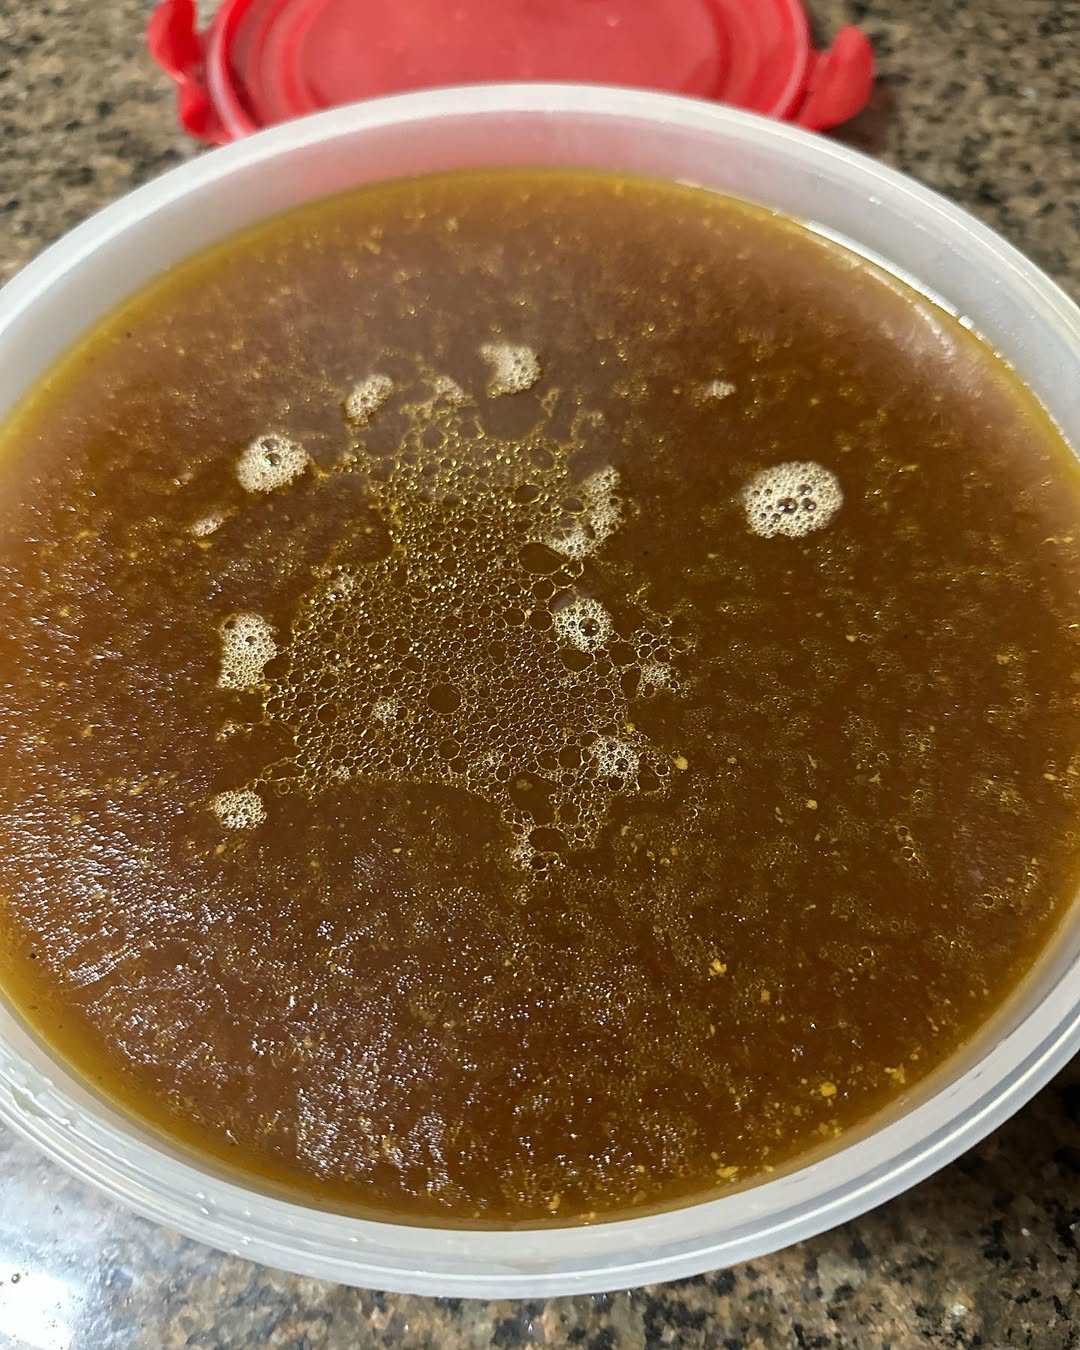
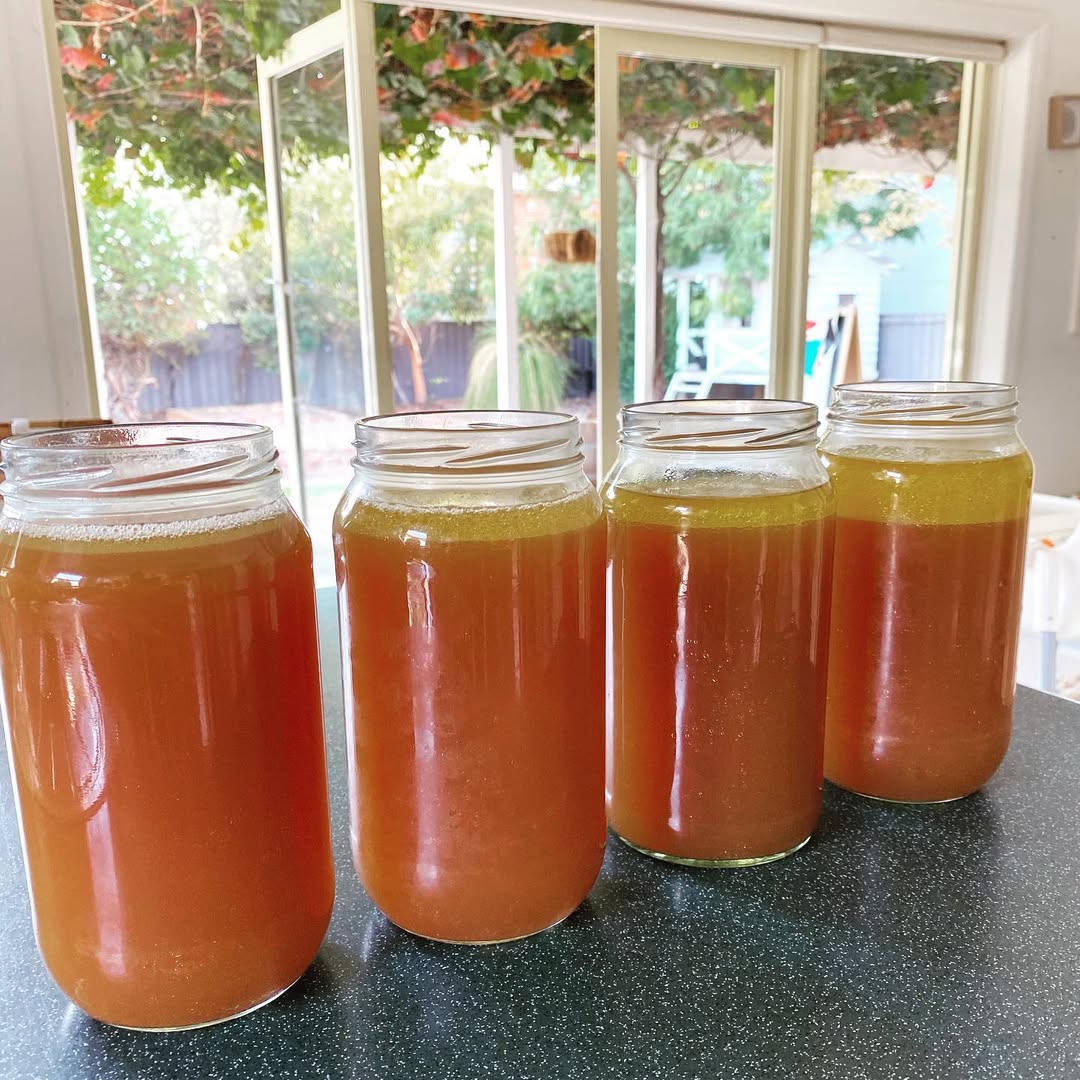
When I’m happy with the flavour, I turn off the heat and let the pot cool slightly. Then I strain the broth through a fine sieve into another pot or large bowl. The bones and vegetables have done their job at this point, so they can be discarded. What you’re left with is the liquid gold.
Step 6: Cool it down and store it safely
I like to set the bowl of hot broth in a sink filled with a bit of cold water to help it cool faster, then I portion it into jars or containers. From there, it goes into the fridge or freezer, which I cover in its own section in this article.
This step is where your broth officially becomes part of your weekly cooking routine instead of just another pot you made once.
Next, let’s look at flavour ideas so you can shape each batch to match your taste and the meals you already love to cook.
Flavor Boosts That Work Every Time

This is where your broth starts to feel personal. Once the bones and vegetables have done their job, you can give the pot a final touch that fits your mood or the meal you’re planning.
Try these simple add-ins:
- Thyme or rosemary near the end of the simmer. Both add a soft, garden-fresh aroma that pairs well with chicken or turkey bones.
- Ginger slices with a pinch of chili. This gives the broth warmth without making it spicy, which feels great on cold days or when you want something soothing.
- Kombu. A small strip adds subtle depth without changing the flavor in a big way. It melts into the liquid and leaves behind a gentle savoriness.
A recipe guide notes that simple vegetables like carrots and celery help build structure and natural sweetness in a long simmer. Herbs stay steady in heat and round out the flavor without needing much work.
Here is why this matters: you’re not locked into a single “correct” flavor. Each batch can feel different depending on what you add, which makes the broth feel new every time you cook it.
Let’s move into how to store it safely so all your effort doesn’t go to waste.
Storage That Keeps It Safe and Fresh
Cooling and storing bone broth the right way gives you days (or weeks) of ready-to-use flavor. This is where your pot of broth turns into an everyday kitchen tool.
How to store it safely:
- Let the broth cool down, then move it into the fridge within two hours.
- The University of Minnesota Extension notes that broths and soups stay fresh for about 3–4 days in the refrigerator.
- For longer storage, freeze the broth. Leave a little space at the top because liquid expands as it freezes.
- A cold-storage chart from FoodSafety.gov repeats this same timeline, so you know you’re working from trusted standards.
When you store it well, a single pot becomes a week of quick meals. You’ll have a warm base ready whenever you want it.
Next, let’s talk about how I use it day to day.
How I Use Bone Broth in Everyday Meals

Bone broth earned a quiet place in my weekly routine because it turns small ingredients into satisfying meals. I reach for it more often than I expected when I first started making it.
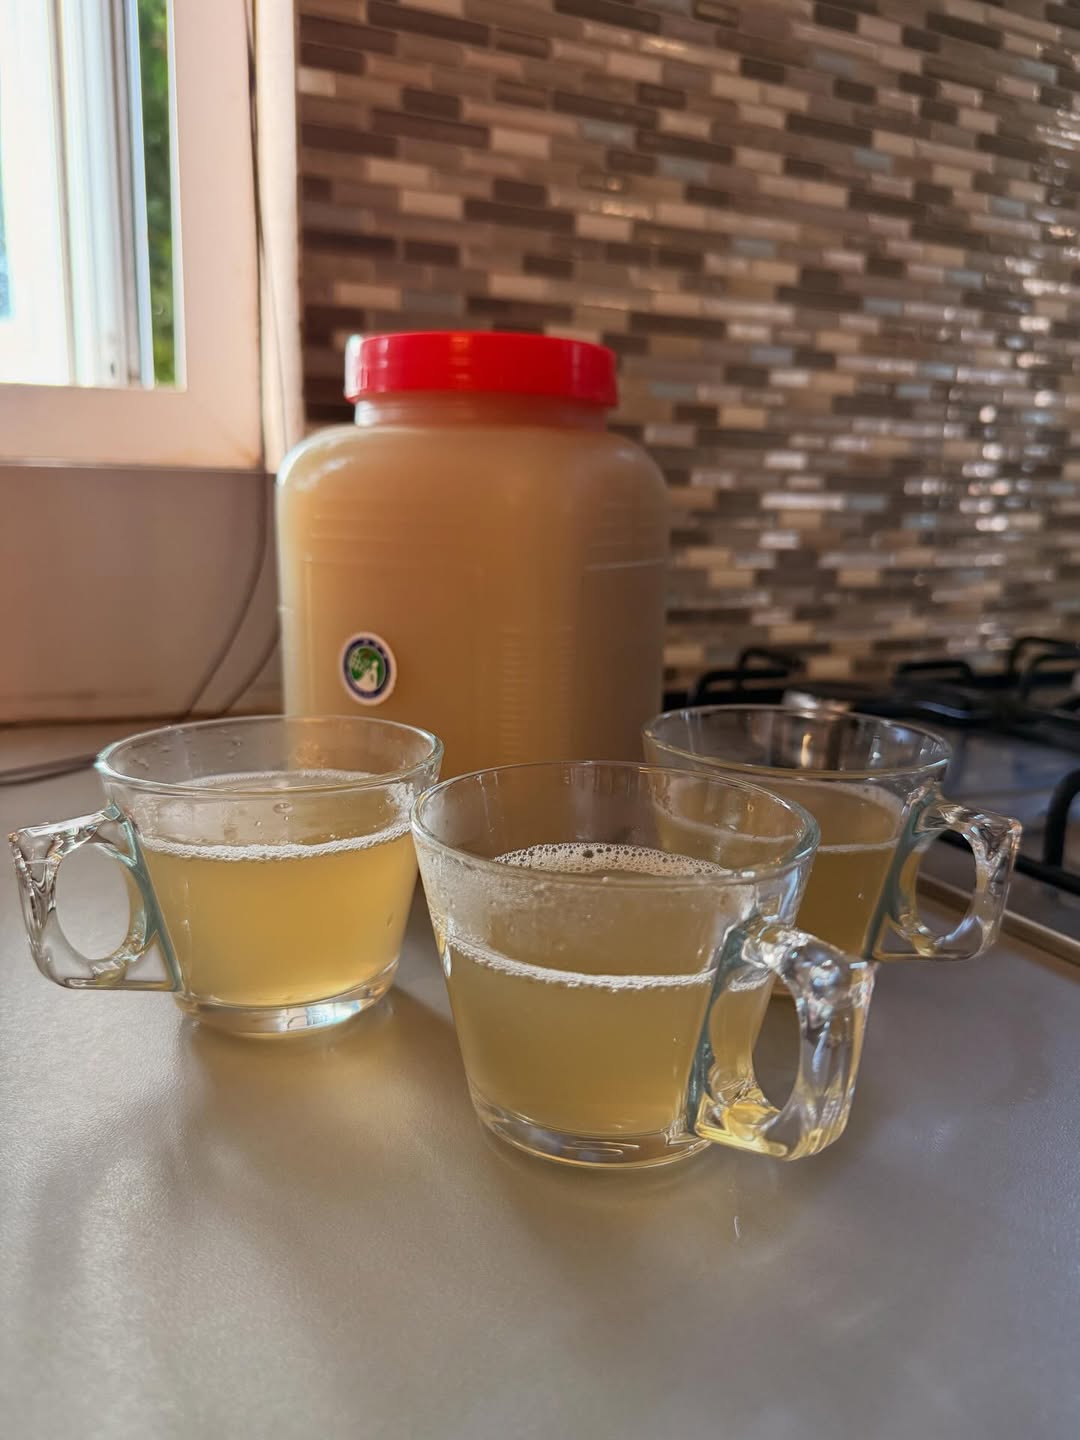
Here’s how it shows up in my kitchen:
- Morning cup. I warm a mug, add a small pinch of salt, and sip it while I plan the day. It steadies me more than coffee on some mornings.
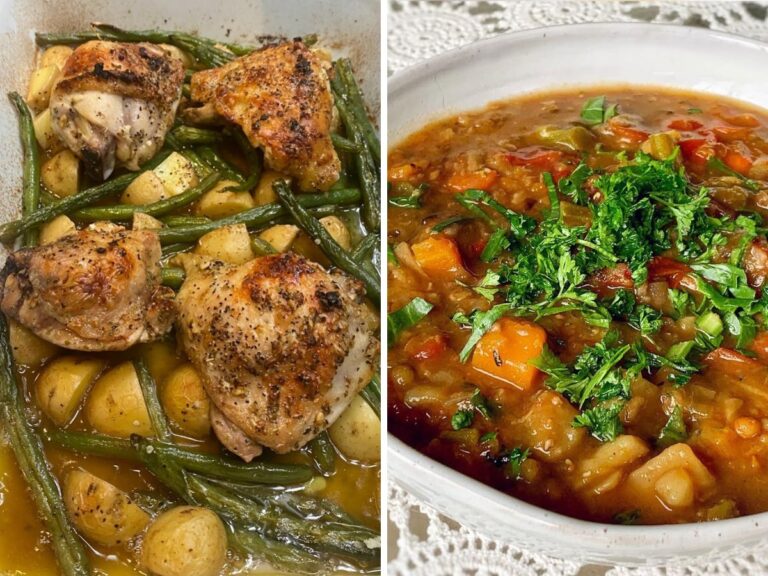
- Ten-minute soup. I throw frozen vegetables into a pot, pour in broth, add leftover chicken, and season lightly. It tastes like something that took an hour, not ten minutes.
- Cooking grains. Rice, quinoa, farro—cooking them in broth adds depth without extra steps.
- Sauces and skillet meals. A splash of broth in a hot pan loosens up browned bits and gives you a sauce with more flavor than water ever could.
A feature from Epicurious shows how one batch of broth can turn into an entire week of soups, which lines up with how I cook. It’s not fancy — it just saves time and boosts flavor in the meals you already make.
Now let’s look at some quick fixes for common broth problems.
Troubleshooting your Bone Broth Meal
Bone broth is forgiving, but these small tips help you rescue a batch that didn’t go exactly how you hoped.
- Weak flavor: Use bones with more connective tissue, like joints or knuckles, or roast the bones longer. Extending the simmer strengthens the taste.
- Cloudy broth: Keep the simmer low. A full boil shakes up the pot and makes the broth cloudy.
- Gelled broth: This is a good sign as gel forms when collagen cooks out of the bones and sets as the broth cools.
- Salty broth: Hold off on adding salt until the end. The liquid reduces during cooking, which can concentrate the salt more than you expect.
Once you know these small fixes, your batches become far more consistent.
Let’s take a moment to cover who may need to be cautious with bone broth.
Who Should Be Careful With Bone Broth
Bone broth fits many eating styles, but some people may want to be mindful before drinking it daily.
- Low sodium diets: Since broth can concentrate minerals and salt during cooking, those watching their intake may need to measure portions.
- Pregnant or postpartum individuals and anyone managing certain conditions should check with a doctor before using broth as a health remedy.
A nutrition piece from MD Anderson Cancer Center points out that many detox or disease-prevention claims online don’t have strong evidence behind them, and broth should be enjoyed for comfort and nourishment, not medical treatment.
With that out of the way, your broth becomes something you can enjoy safely and confidently.
Before we wrap up, I want to answer a few questions that come up often when people start making their own broth. These will clear up common doubts and help you feel more confident in your kitchen.
Frequently Asked Questions about Bone Broth
Can I use frozen bones to make bone broth?
Yes, frozen bones work the same as fresh ones. I usually collect bones in a freezer bag until I have enough. Just place them straight into the pot without thawing.
Should I add salt while it cooks?
I wait until the end. The broth reduces during the simmer, which can make the salt stronger than expected. Seasoning at the end gives you better control.
How do I make my broth richer?
Use bones with more connective tissue, like joints or knuckles. Roasting the bones first adds deeper flavor as well.
What if I don’t want to simmer it all day?
A pressure cooker works well when you want a shorter cook. It creates a full-bodied broth in a fraction of the time.
Why does my broth gel in the fridge?
Gelling is normal. It means the collagen cooked out of the bones and set as the broth cooled. It melts again once heated.
Can I use vegetable scraps in my broth?
Yes. Onion ends, carrot peels, celery leaves, and garlic skins all work well. Just avoid bitter scraps like oversized cabbage cores or large kale stems.
How do I reheat broth safely?
Bring it to a gentle simmer and keep it hot until you’re ready to serve. If it’s been in the fridge longer than four days, freeze the rest or make a fresh batch.
Conclusion
Making bone broth once a week has become one of those small routines that makes my kitchen feel calmer and more grounded. One pot turns into warm drinks, quick soups, simple sauces, and easy dinners that help carry you through busy days.
If you’ve been wanting something comforting that doesn’t require much hands-on work, this is a great place to start.
If you try this recipe or put your own spin on it, drop a comment below. I’d love to hear how your batch turns out and what flavors you added.